When it comes to redecorating with bold colours or standout patterns, there’s nothing quite like a perfectly cut-in feature wall to elevate your space. Whether you're a DIY enthusiast refreshing your living room, a young professional giving your room a sharp update, or a designer working on a client project in the UK, cutting in is essential to achieving those clean, crisp lines that bring a polished finish to any wall.
But what exactly does "cutting in" mean? In painting terms, cutting in is the process of painting along edges and trim, such as where the wall meets the ceiling, skirting board, corners or door frames, before using a roller or larger brush for the main surface. It requires a steady hand, the right tools, and technique to avoid messy overlap or paint bleed. Fortunately, with this super quick lesson, you’ll be able to cut in like a professional decorator in no time.
1. Tools You’ll Need
Having the right kit on hand is half the battle. Skimping on tools might save a few quid in the short term, but quality tools make all the difference.
| Tool | Why You Need It |
|---|---|
| Angled sash brush (1”-2”) | Angled bristles provide control and precision near edges and corners. |
| Small paint bucket or tray | Prevents overloading the brush and gives easier access than a full tin. |
| Masking tape (optional) | For beginners, tape can create a safety line to avoid errors—just be sure it’s low-tack and suitable for painted surfaces. |
| Dust sheets | Protect flooring and furniture from accidental drips or splashes. |
Tip: Buy a quality angled sash brush from a recognised brand like Purdy or Hamilton. A cheap brush may shed bristles or result in uneven edges. For feature wall paints that tend to be darker or more pigmented, good tools help you avoid brush marks that show through after drying.
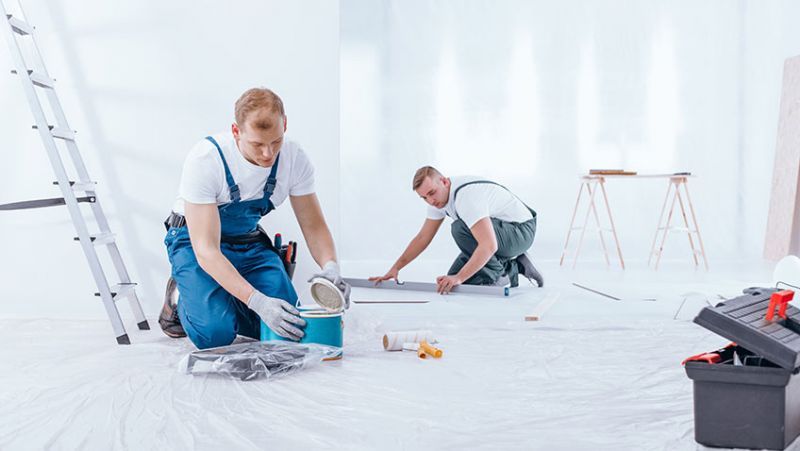
2. Prep the Space Like a Pro
As with any decorating job, preparation is key. A smooth, clean surface ensures that the paint adheres properly and keeps your lines crisp and defined.
Start by cleaning the feature wall with a mild soap and water solution to remove dust, grease, or cobwebs. Fill any cracks or holes and gently sand the surface to create a nice, even base. Wipe the wall down after sanding to remove any residual dust.
If you're painting a wall next to freshly painted white walls or a ceiling, use masking tape for peace of mind. Apply it carefully in areas you don’t want to paint. Press the edges firmly with a putty knife or your thumbnail to prevent bleeding underneath. Just remember—remove the tape while the paint is still damp to avoid tearing the dried finish.
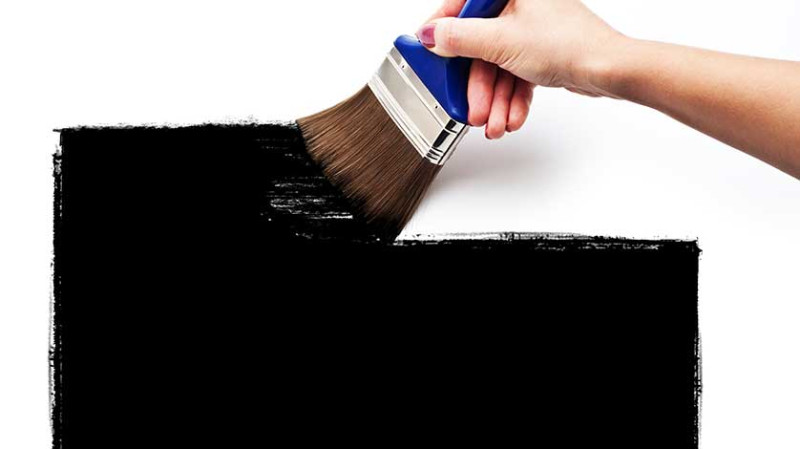
3. Master the Cutting In Technique
Once you’ve prepped, it’s time to cut in. Dip your angled brush about half an inch into the paint and wipe one side against the rim of your tray or bucket. This keeps the bristles loaded but controlled.
Approach the edge about 1cm away at first. Angle the brush and gently pull it along the edge using long, smooth strokes. This ‘steering’ distance gives you space to manipulate your brush while moving closer to the line with each pass. Once you’re comfortable, go right up to the edge for that perfectly sharp transition.
Don’t rush! The key here isn’t speed but fluid control. Work in sections, starting from a top corner and working your way down. This helps avoid smudging areas you’ve already painted. Make sure the brushed areas blend into your roller-painted sections before they dry to avoid lap marks.
Remember, light pressure is your friend. Let the bristles do the work with a steady hand guiding them along the boundary—no need to press down hard.
4. Best Practices for Feature Walls
Feature walls often use bold, rich colours—think navy, emerald, charcoal or even a rich terracotta. Such shades can show mistakes more readily than lighter tones, so cutting in with precision is especially important.
If you're using a textured or accent wallpaper on your feature wall, cutting in becomes a partner task—you’ll still need to paint the surrounding walls cleanly to make the wallpaper pop. Pay attention to where colours meet and consider matching or contrasting paint tones along the border to create even more impact.
For a high-end finish, consider painting a 5–10mm border colour where two colours meet. This adds professionalism and intention, especially when using geometric or colour block features.
5. Common Mistakes to Avoid
Even seasoned tradesmen and decorators slip up sometimes. Here are a few mistakes that can spoil an otherwise flawless feature wall:
- Overloading the brush: This can cause dripping or uneven pigment at the edges.
- Working too quickly: Haste leads to wobbly lines. Aim for steady, deliberate strokes instead.
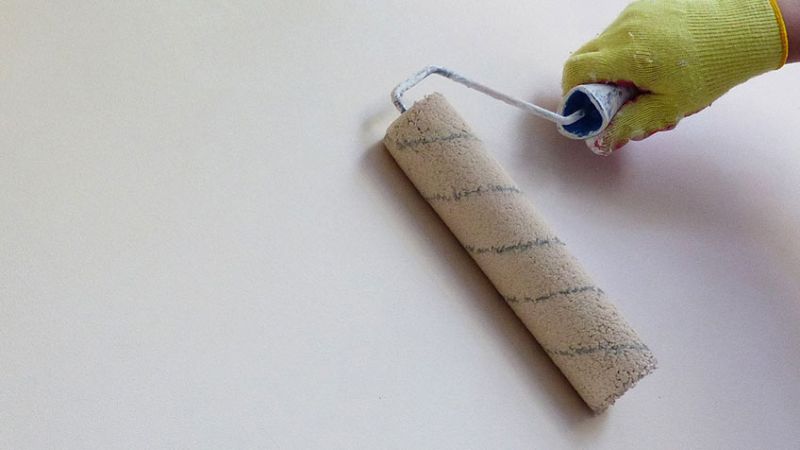
- Starting with the roller: Always cut in before rolling. This allows for smoother blending and coverage.
- Skipping prep: Dust, grease or chipped edges will stop paint from adhering correctly—and it’ll show.
- Using masking tape alone: Relying solely on tape without technique can lead to bleeds or peeling paint edges.
Patience during this step not only results in a cleaner finish but also saves time touching up later.
6. Final Touches That Make the Difference
Once the entire wall is cut in and rolled, stand back and take a critical look for any missed spots or wobbly lines. A second pass with your brush might be necessary around some trickier corners or tight spaces.
If you’ve used masking tape, now’s the time to remove it—gently, and while the paint is still tacky. Pull at a 45-degree angle to avoid lifting paint.
For designers and architects, crisp paint lines are the kind of detail your clients remember. For DIYers living in a British terrace or modern city flat, it elevates your interiors without breaking the bank.
Want your feature wall to make a real statement? Pair it with artistic lighting, minimal accessories and sharp furniture lines. A clean cut-in job is the foundation of transforming a basic wall into a defining design feature of your home.
Conclusion: Practice Makes Perfect
Cutting in can seem fiddly at first, but with a bit of practice and the tips above, you’ll quickly get the hang of it. Whether you’re refreshing a lounge in a Manchester terrace, styling a studio flat in London, or guiding a client project in Edinburgh, mastering this technique is invaluable.
Give yourself time, use quality tools, and don’t be afraid to slow down to nail that precision. You’ll end up with a feature wall that draws the eye—and admiration—every single time.
Need more decorating tips? Explore our other painting guides and get inspired to take your interiors to the next level with confidence and clarity.
Trending articles
-
Super Quick Lesson: How to Cut in ...
24 Apr, 2025
-
 9 Creative Ways to Add a Splash of ...
03 Apr, 2025
9 Creative Ways to Add a Splash of ...
03 Apr, 2025
-
 Ultimate Guide to Choosing the Right ...
03 Apr, 2025
Ultimate Guide to Choosing the Right ...
03 Apr, 2025
-
 How to Choose the Right Paint Color ...
16 Aug, 2022
How to Choose the Right Paint Color ...
16 Aug, 2022
-
 Why You Should Hire a Professional ...
27 Jul, 2020
Why You Should Hire a Professional ...
27 Jul, 2020